It’s not unusual these days to take thousands of digital photographs during a river cruise or any tourist adventure. What do you do with them when you get home?
I don’t know about you, but I have two challenges: during the trip when I fill up the memory card or my phone’s RAM. I have taken to dumping a copy each night into a separate folder on my laptop for each day. If I run out of space, I delete the images or video on the phone or camera.
The second matter is displaying (showing off) your photos to your unwitting guests. Gone are the days of slide shows, where the guests could nod off mercifully in the dark, but they might not appreciate it if you try to display 2,500 photos on your laptop.
Fortunately, there is a solution.
Photo books
Several outlets sell “photo books,” most let you compose the album at home using their special editor. Several outlets in Australia have re-badged Albumworks, which sells directly to the public. We used Officeworks without prior research, so you might want to see if someone has a cheaper deal. Officeworks gives you the option to collect the album from your nearest store, which suited us. If you live in another country, you will surely have several local photo book options.
The (Officeworks) editor
Organising your photos
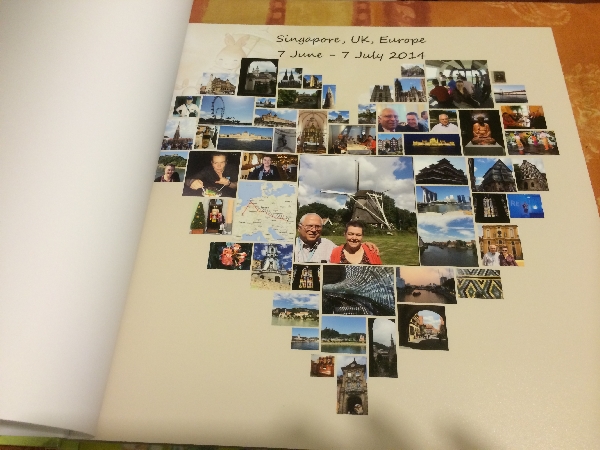
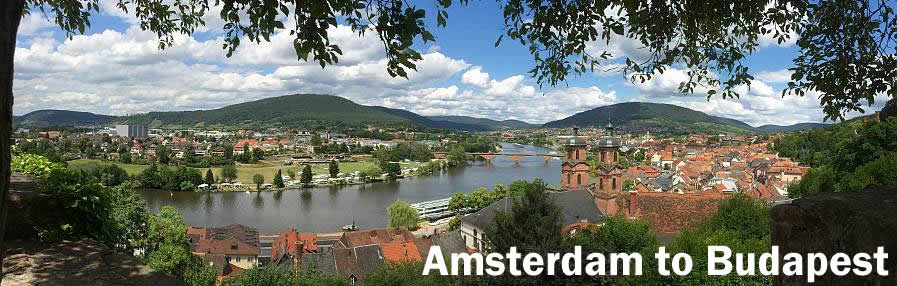
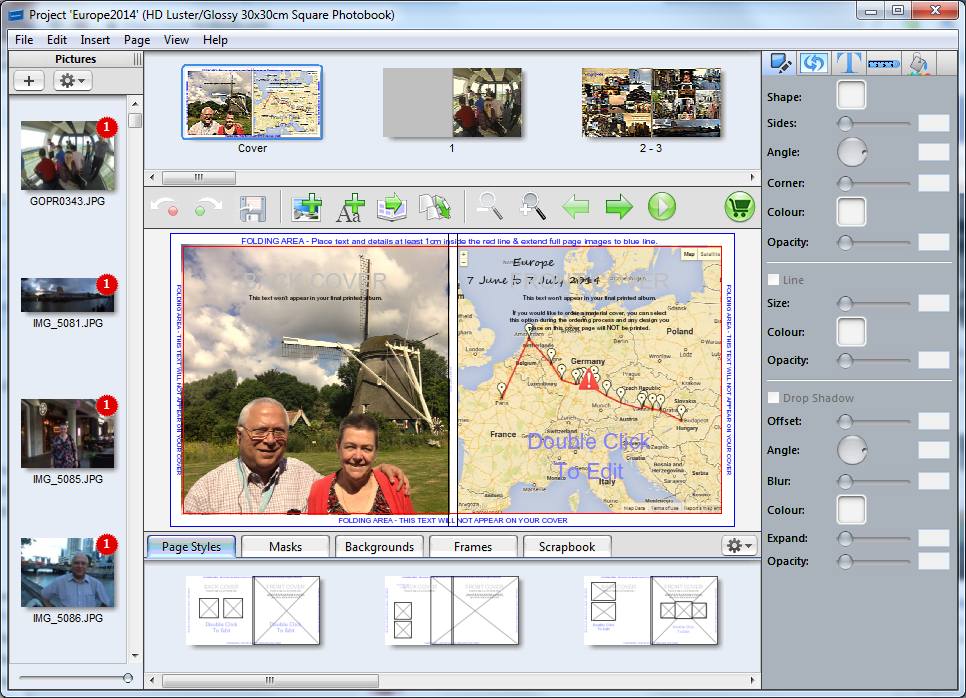
It seems convenient to upload all your photos into the editor from a single folder, so I placed a copy of the desired photos into a PhotoBook folder. As the photos are uploaded in name order (and I had a second set of photos taken on a GoPro camera), I had to rename those to fit in between the iPhone photos in the correct sequence. In total, I used 438 photos to make up the album.
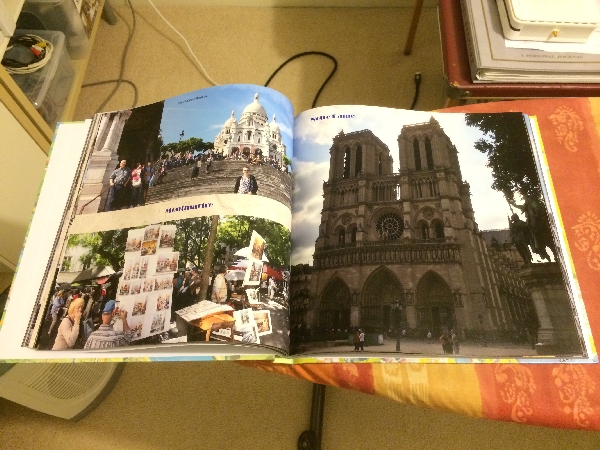
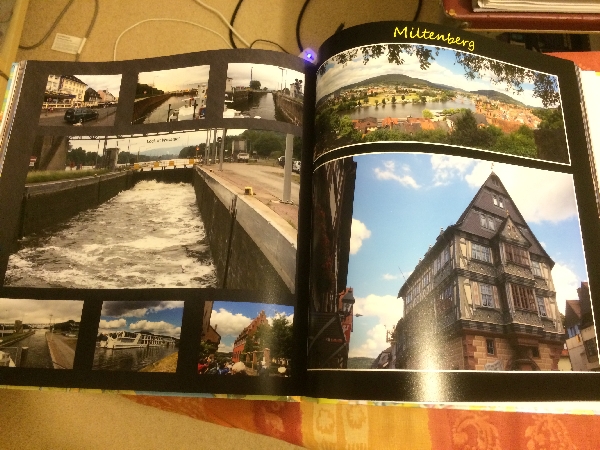
The editor you get from your vendor might not be as rich as the one used by Albumworks, but we were none the wiser at the time. You get several page layouts and can easily alter them to suit your mix of photos. For example, I took a few panoramas to stretch the rectangular container much wider before dropping in my picture.
Many of the photos were captioned with their name or location.
Where did I take that photo?
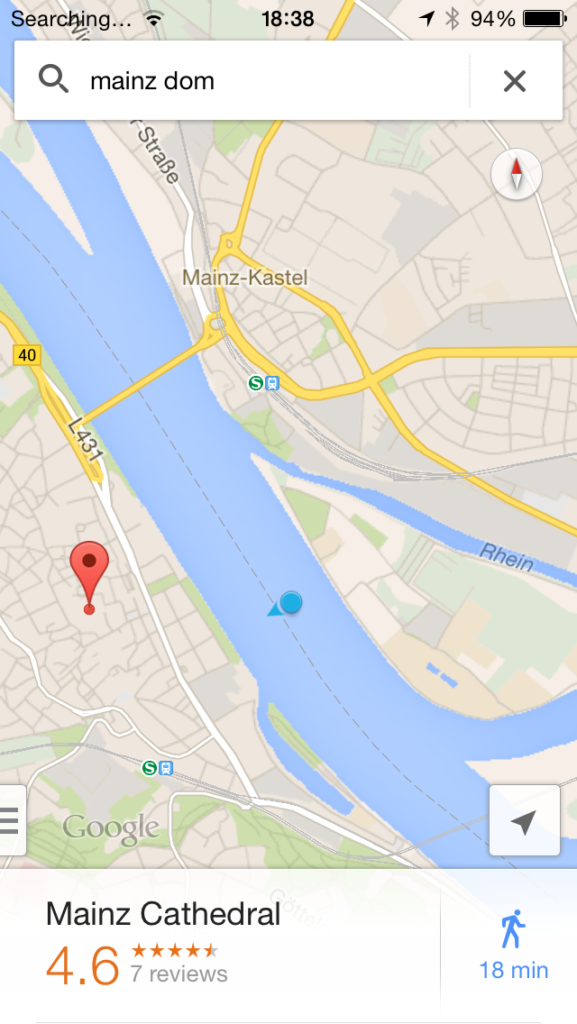
Trust me, you might recognise some landmarks, but most of these cathedrals look alike, and you have some idea of the sequence by the file name number. Yes, but when taking photos of castles from the ship, how do you know the precise name when laying out the photos in the editor? On the iPhone, you can pull out Google Maps and take a screenshot of the maps while taking the photos, but you can’t keep doing it between every shot, or else you might miss a great shot.
iTag
Enter a Windows program known as iTag. I had acquired it some years earlier to write descriptions on my scanned photos and slides, but I soon gave up that project. I pulled it out again, as I knew it could read the geographical coordinates (Latitude/Longitude) captured with any GPS-enabled camera such as my iPhone. (You may want to buy a GPS-enabled camera or add-on GPS when you next buy a camera.)
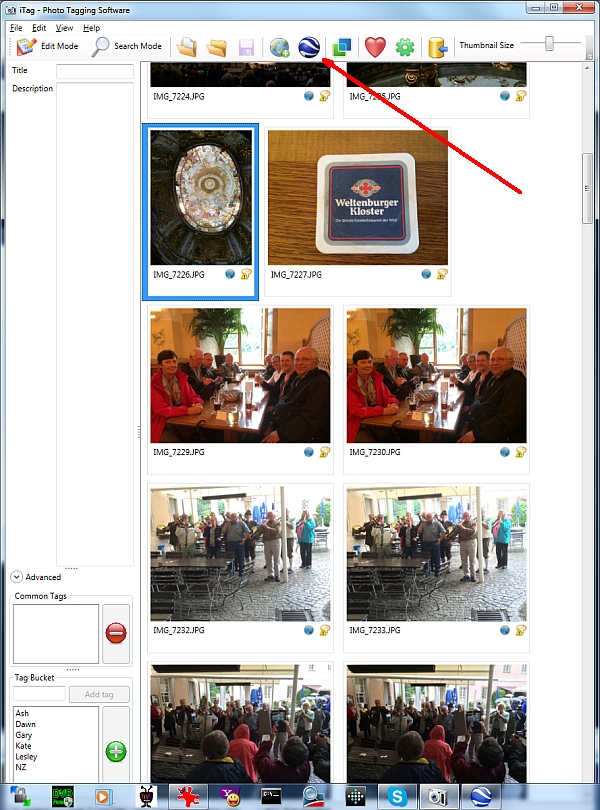
You point the program towards one folder, as it doesn’t like loading more than 200 images simultaneously. When the images are loaded, you click (not double-click) the image you want to identify, then click the blue “marble” icon at the top, which fires up Google Earth (assuming you have installed it on your computer).
Google Earth
Google Earth will open with an “aerial view” of the countryside and show your photo floating in the sky with a pointer going down to Earth corresponding to the geo-coordinates. Very nifty.

The GPS coordinates given to consumer-grade devices are sometimes out by 100 metres, but that’s good enough for us to read the map and find the location’s name. This can be entered into the photo book editor as the location. Sometimes, I had to dig more in Google Search for the name of some obscure building.
For example, we stopped at the Shnaitl Brewery near Salzburg, but the building was hard to identify from the Google Earth aerial view, and there were no names of that commercial complex. I was looking for the name of a little church they built there and had to read up several sources via Google Search.
Uploading to the vendor
I had a weird error when uploading the finished book to the vendor.
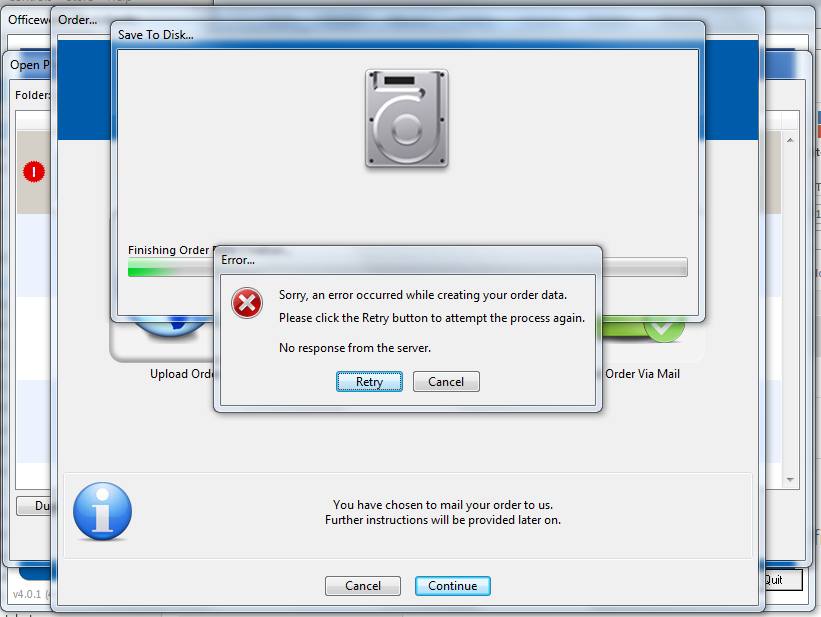
Without going into technical details, the problem was Norton Internet Security. I disabled it while uploading the book to the company’s server, and it went well.
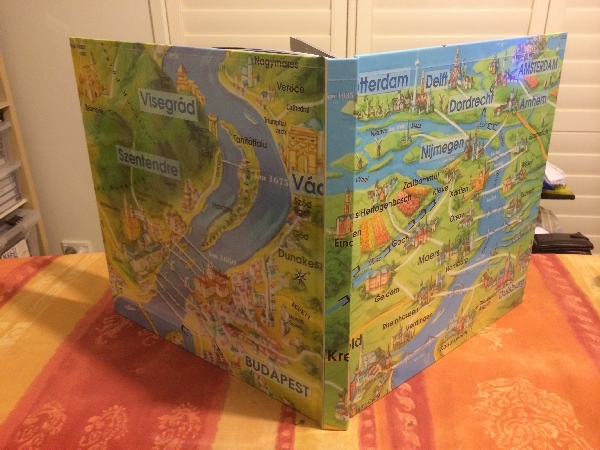
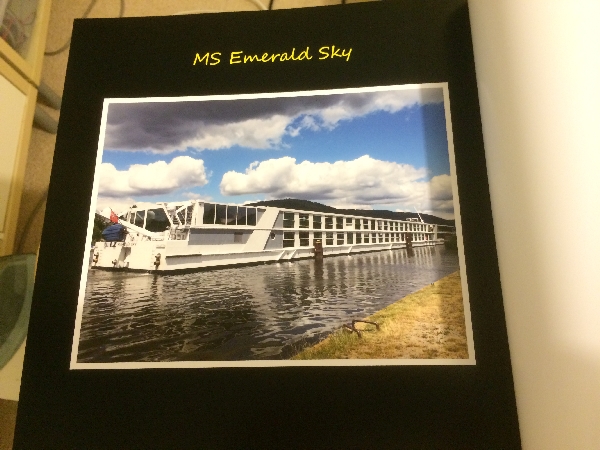
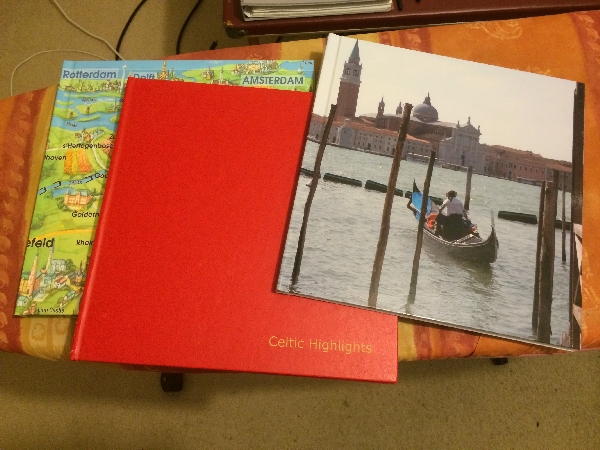
The finished product
The company keeps you informed about the production and shipping status; finally, it was ready for pickup earlier than promised. Here are some photos of the finished product – well worth it.